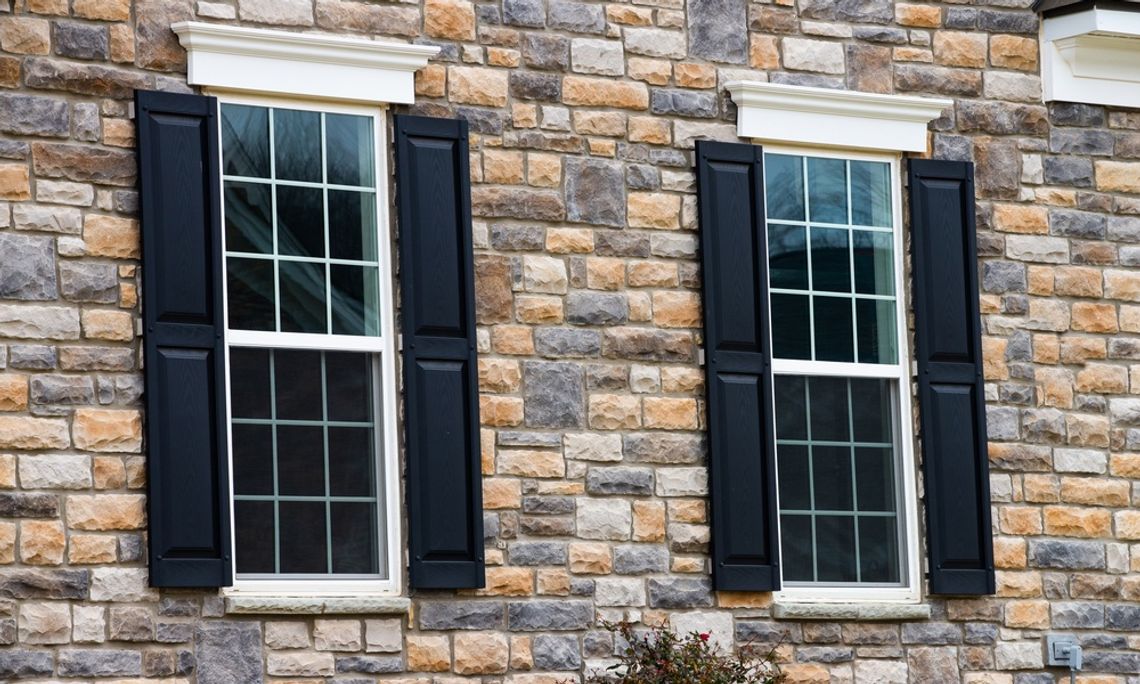
Removing window shutters might seem straightforward, but without proper care, it’s easy to cause unintended damage to your home. From chipped paint to water intrusion, there are several risks to be aware of. We’re discussing the most common damages that occur when removing window shutters and how you can avoid these costly repairs.
Paint Damage and How To Prevent It
One of the most common issues when removing window shutters is paint chips or peeling. This often occurs when shutters have been fixed against painted surfaces for years, creating a seal where paint may stick to the shutter rather than the wall. If the shutters are removed without proper preparation, the paint may lift along with them.
To prevent this, use a sharp utility knife or blade to score the paint along the edges of the shutter where it meets the wall. This breaks the seal and allows the shutter to detach cleanly without pulling off the paint. Using a pry bar with a wide, flat edge can distribute pressure evenly as you remove the shutters and minimize dents in the surface underneath.
Siding Issues and Repair Methods
Shutter removal can also damage siding, especially if it was installed tightly against materials like vinyl or wood. Removing screws or nails without proper care can crack, chip, or even tear bits of the siding. The risk is particularly high for older homes with brittle siding materials.
To avoid this, work slowly and inspect each attachment point before removing fasteners. Look out for screws that seem rusted, stuck, or tightly embedded. Use the appropriate drill or screwdriver, and if hardware resists removal, consider using a lubricant to loosen it gently.
If you find cracks or holes post-removal, repair kits specific to your siding material can often correct the damage. For vinyl siding, patches or replacement strips are quick fixes that restore the original look. For wood siding, sanding any splinters and applying wood filler followed by a fresh coat of paint will make repairs almost invisible.
Water Intrusion Risks After Shutter Removal
Removing shutters can leave gaps or unsealed areas where water may seep in, especially during heavy rain. These spaces were often covered by the shutters for years, but once exposed, they can lead to water damage, mold, or weakening of the home’s structure.
To prevent water intrusion, inspect the surface after removing shutters and identify potential weak points. Sealing all holes, cracks, or exposed edges with weatherproof caulk is important here.
If you’re planning to replace your old shutters without damaging your home, make sure the new ones are properly installed with secure, sealed fasteners. Taking this step will protect your home from weather-related damage and maintain its overall appearance.
Removing window shutters requires careful planning to preserve your home from damage. By scoring paint lines, using proper tools, repairing any holes, and adequately sealing surfaces after removal, you can replace your old shutters without harming your home.


Comment
Comments