
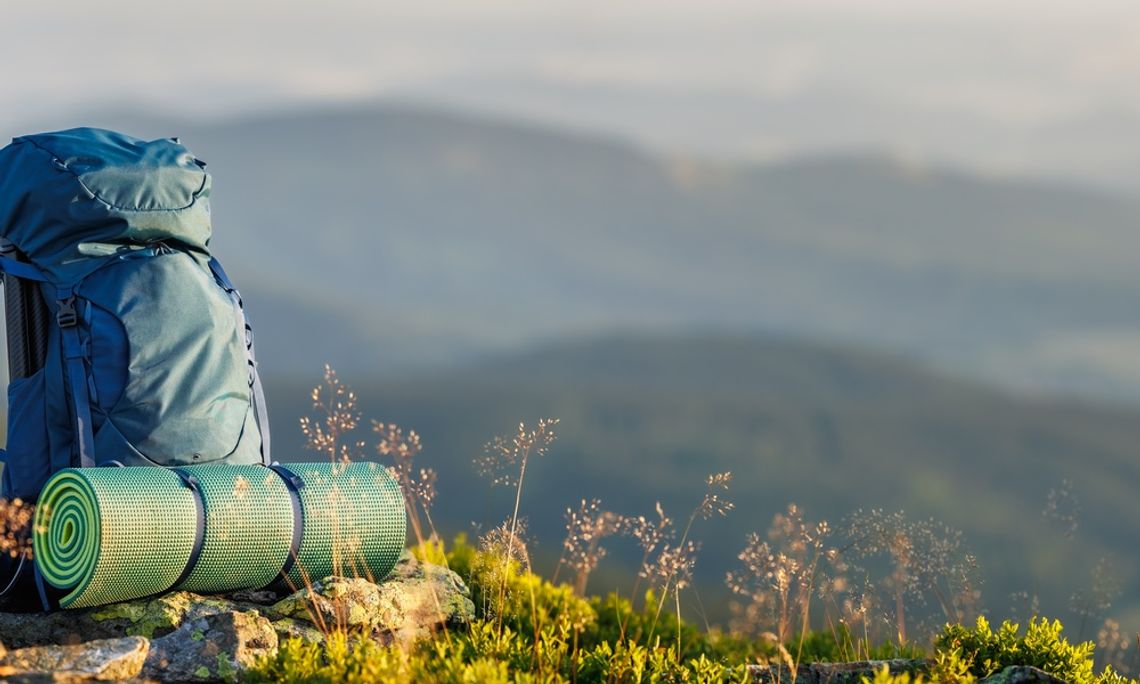
Outdoor gear often carries more value than its price tag suggests. A faded backpack may recall a first overnight trip, while a worn tent may have weathered years of family weekends. With careful inspection and a few reliable repair methods, owners can restore function without sacrificing character. The following simple ways to repair well-loved outdoor gear help prevent minor damage from becoming permanent loss.
Begin With a Careful Inspection
Spread the item on a bright surface and trace the damage beyond the obvious tear. Fabric often weakens around the visible edge, so a patch that only covers the hole may fail during the next trip. Check the surrounding weave with pressure and mark the full repair area before cutting any material.
Clean the area before applying tape or adhesive. Fine grit blocks a strong bond, while moisture can trap dirt under the repair. Use mild soap on washable fabric and allow it to dry completely. On coated surfaces, follow the maker’s care guidance so the cleaner does not weaken the finish.
Match the Repair to the Material
A lasting repair begins with understanding how the damaged material behaves. Woven fabric needs a flexible patch that can bend without pulling against the original surface. Cut the patch with rounded edges so repeated movement does not lift the corners. When possible, place it on the less-exposed side, where it can support the tear without creating a rough outer edge.
The adhesive or stitching method should also suit the material’s finish. Coated fabric often responds better to a repair product made for sealed surfaces, while untreated fabric may hold a sewn patch more securely. Test the method on a hidden area before committing to the full repair. That small step reduces the risk of discoloration and helps confirm that the bond will hold under movement.
- Strong thread for pack seams
- Flexible tape for rain shells
- Tent seam sealer
Replace Damaged Hardware With Precision
For buckle repairs, choosing the right buckle size for your product ensures it sits squarely on the strap and carries tension without twisting the webbing. Measure the inner opening where the strap passes through rather than relying on the buckle’s outside width. The replacement should allow the webbing to move through cleanly without leaving space for it to shift under load.
Once the buckle fits the strap, install it in a way that preserves the original pull direction. If the strap uses a sewn loop, follow the existing stitching path so the repaired section can handle pressure as intended. Keep the stitches evenly spaced and tighten them with consistent tension. A buckle that sits straight will distribute force across the webbing rather than concentrate strain at one edge.
Let Maintenance Protect Future Trips
Repairs last longer when routine care supports them. After each trip, inspect the fixed area under natural light and feel for lifting edges. Address any changes before storage, while the damage is still easy to reach. Keeping items in a dry space also protects adhesive bonds from moisture fluctuations that can shorten their service life.
Learning simple ways to repair well-loved outdoor gear changes how owners judge wear. A scuff can signal history rather than failure, while a careful repair can strengthen trust in familiar equipment. That confidence encourages thoughtful use instead of premature replacement, giving each item more time to earn the stories that make it worth keeping.
Comment
Comments