
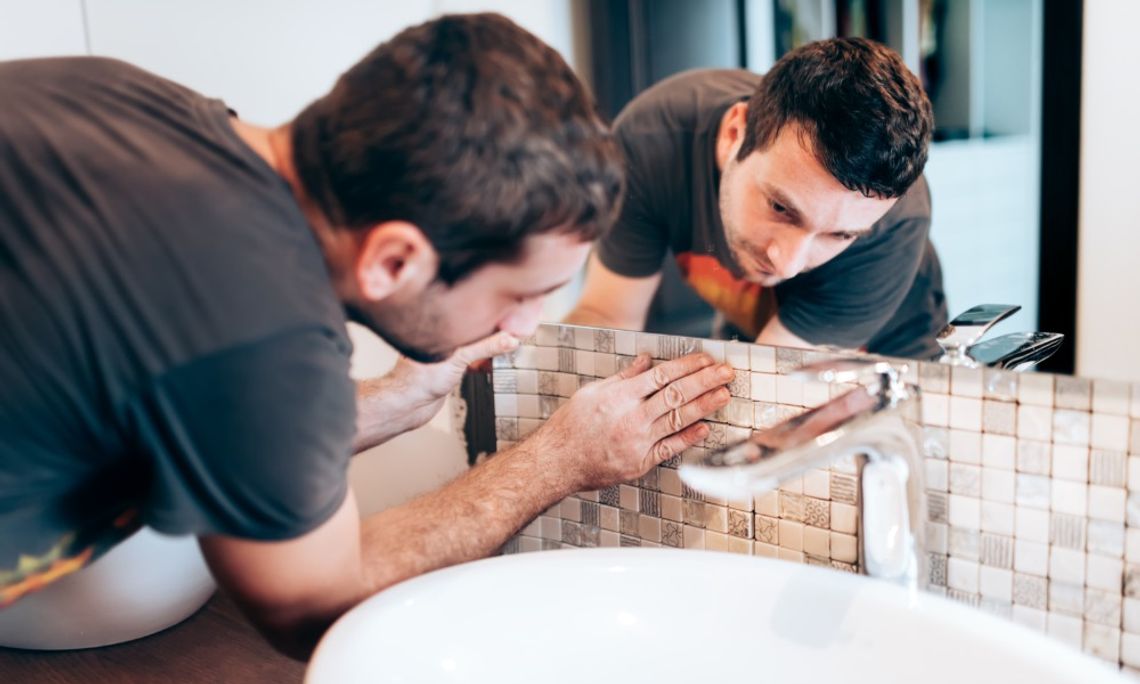
A bathroom renovation can transform an outdated room into a comfortable space that supports easier routines and better moisture control. Fresh surfaces matter, but the work beneath them often determines how well the finished bathroom performs. Water can reach hidden areas through tiny gaps, weak seals, damaged pipes, or poor ventilation.
Mold presents another concern because bathrooms face frequent humidity and temperature changes. Once moisture reaches porous materials, it can remain hidden behind walls or beneath floors for extended periods. A thoughtful DIY renovation should address these risks before decorative updates take priority.
Careful preparation can help protect walls, floors, cabinets, fixtures, and other important surfaces. Each renovation choice should support daily function and moisture resistance without making future maintenance difficult. With the right DIY renovations for a functional and mold-free bathroom, you can create a space that works well and remains easier to keep clean.
Assess the Bathroom Before Work Starts
Inspect the entire bathroom before you remove tile, cabinets, trim, or fixtures. Look closely for stains and dark marks near common sources of moisture. These signs can reveal damage that deserves attention before cosmetic work begins.
Check around the shower, tub, toilet, vanity, and visible plumbing connections for evidence of water exposure. Do not ignore minor discoloration because a small mark can point toward a much larger hidden problem. A thorough assessment helps you understand the true scope of your renovation before you purchase new materials.
Remove Damaged Materials First
Water-damaged materials should come out before new surfaces enter the bathroom. Wet drywall and weak flooring can retain moisture even when their surfaces appear dry. Covering these areas can trap existing problems beneath your renovation.
Take care during demolition to protect materials that remain in good condition. Work through one section at a time and inspect the exposed area before you move forward. Extensive mold or structural damage may require professional support before the DIY portion of your project can safely continue.
Improve Airflow Throughout the Room
Reliable airflow can help remove humid air after baths and showers. An effective exhaust fan pulls excess moisture from the room before it settles across walls and ceilings. This makes proper ventilation an important part of your renovation plan.
Make sure the fan vents outdoors rather than into an attic or other enclosed space. Clean the cover often because accumulated dust can reduce airflow and place extra strain on the system. Open the bathroom door after use when practical to help fresh air move throughout the room.
Create Strong Seals Around Wet Areas
Caulk helps protect joints where water could pass between separate bathroom surfaces. Areas around showers and fixture edges need a flexible seal designed for frequent moisture exposure. Remove old material completely before you apply fresh caulk.
One of the most important factors is understanding caulking gun thrust ratios; this will help you apply dense sealants with greater control and precision. Move the tool at a steady pace to create an even bead without excess material across the joint. Smooth the fresh caulk before it cures and confirm that the material maintains complete contact with both surfaces.
Give the Shower Area Extra Attention
Showers face constant water exposure and deserve extra care during a DIY renovation. Decorative tile can resist water at the surface, but the materials beneath it still need dependable protection. Inspect the substrate for soft spots or other signs of previous moisture damage.
Pay close attention to corners, niches, fixture openings, and areas where separate surfaces meet. Small gaps in these locations can provide direct paths for water to reach hidden wall materials. Check these areas after the renovation as well because seals can wear down after regular bathroom use.
Choose Materials That Suit Damp Spaces
Bathroom materials should tolerate humidity and occasional contact with water without rapid deterioration. Standard interior products may perform poorly near tubs, showers, sinks, or other areas that face regular moisture. Select finishes intended for damp environments whenever the location demands additional resistance.
Consider maintenance needs before you commit to decorative surfaces with complex seams or hard-to-reach details. Simple surfaces can make dirt and moisture problems much easier to spot during routine care. Suitable materials can also reduce the amount of repair work the bathroom requires as it ages.
Design Storage With Moisture in Mind
Good bathroom storage should support organization without trapping moisture inside crowded spaces. Damp towels, toiletries, and other wet items can create unwanted humidity when placed inside closed cabinets too soon. Give these items enough time and space to dry before you put them away.
Keep the area beneath the sink relatively clear to make plumbing connections easier to inspect. Heavy clutter can conceal leaks or damp surfaces until significant damage has already occurred. Wipeable shelves and accessible cabinets can make routine care simpler without sacrificing useful storage space.
Watch Grout and Flexible Seams
Grout can develop cracks that allow water to reach materials beneath tile. Inspect lines around showers and backsplashes for small breaks before regular moisture makes the damage more severe. Repair weak areas with products suitable for the existing surface.
Corners and transitions often need flexible sealant because separate surfaces can move slightly as temperatures and moisture levels change. A rigid material may crack under this movement and create an opening for water. Regular inspections can help you catch these small defects before they lead to extensive repairs.
Keep Moisture Control Part of Regular Care
A renovated bathroom still needs regular attention after the DIY work ends. Steam and wet surfaces continue to create moisture risks regardless of how carefully you complete the project. Routine care can help prevent small concerns from becoming expensive problems.
Watch for musty odors or paint that starts to peel. These signs can indicate moisture where it should not remain and deserve attention rather than a cosmetic cover. Address the source promptly to protect the materials and work already invested in your renovated bathroom.
A successful DIY bathroom renovation to prevent mold should improve appearance without sacrificing function or moisture protection. Strong seals, dependable ventilation, suitable materials, and sound plumbing all support a bathroom that remains easier to use and maintain. Careful preparation beneath visible surfaces can make a significant difference after the project reaches completion.
Take time with each step rather than rush through work that eventually disappears beneath tiles or trims. Hidden details often determine whether moisture remains under control or returns as an expensive problem later. With thoughtful work and routine care, your renovated bathroom can remain functional and far more resistant to mold.
Comment
Comments